How to Manage Content
Managing content at The Content Authority is fast and easy. This tutorial will guide you through the process of finding and managing orders.
Manage Orders Dashboard

Select the “Manage Orders” tab found on the top of the screen while logged in as a client.
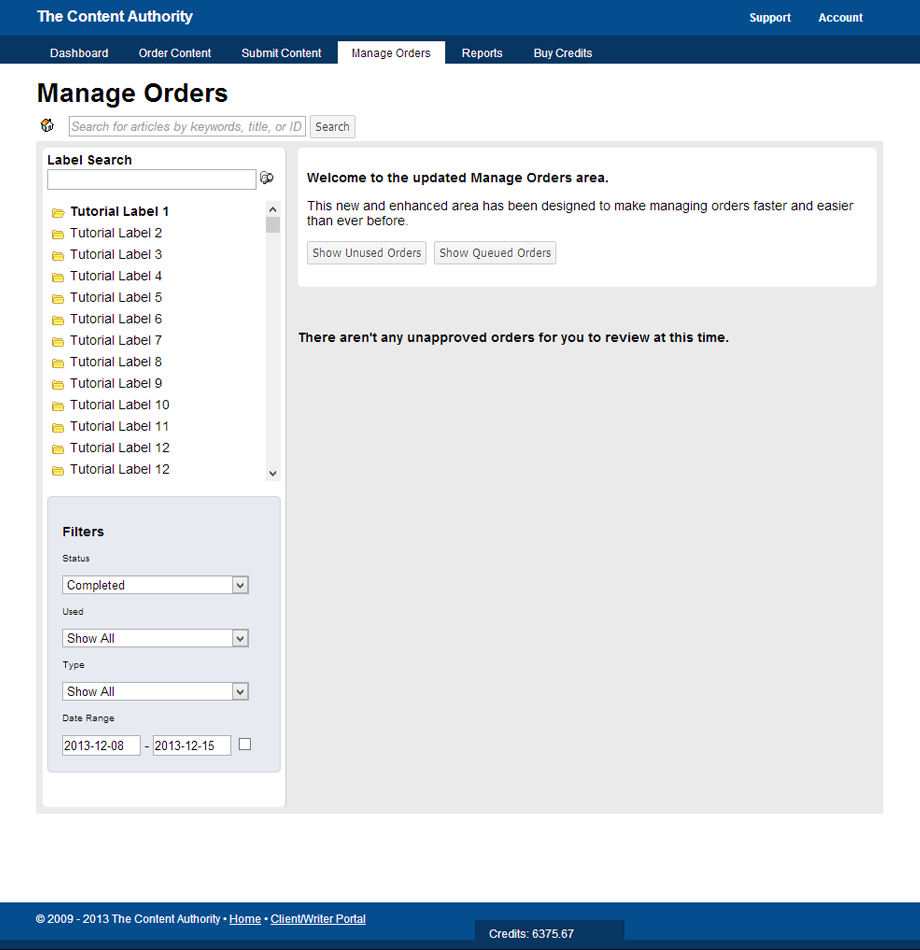
This is the Manage Content Dashboard.
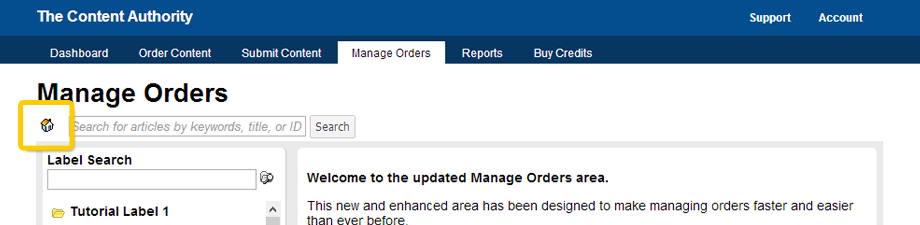
The “Home” button will take you back to the Manage Orders dashboard from the Label Details, Order Details and other such pages on the Manage Orders tab.
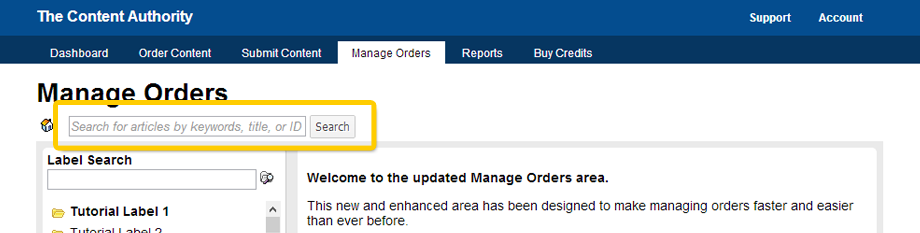
This search box will allow you to search for articles by keyword, title, or order ID. Click the search button when your query is complete to bring up the search results.
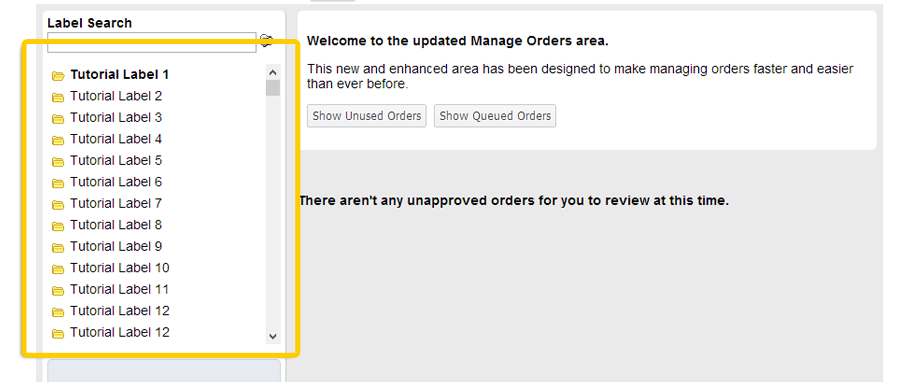
This is the list of labels for all orders you have made at The Content Authority. Click on the label name to bring up the Label Details screen and see any orders archived under that given label.
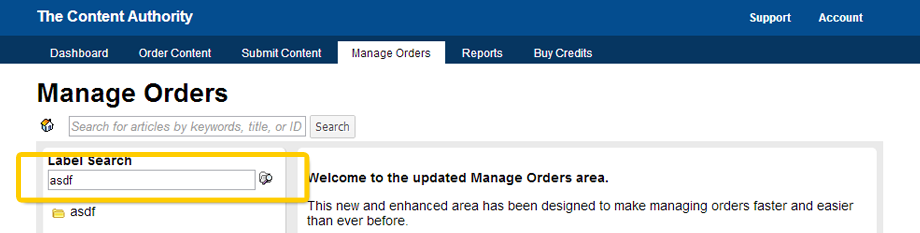
The “Label Search” text field will automatically filter your labels by name based on the text you put in. Use this text box to quickly find the labels you want to work with.
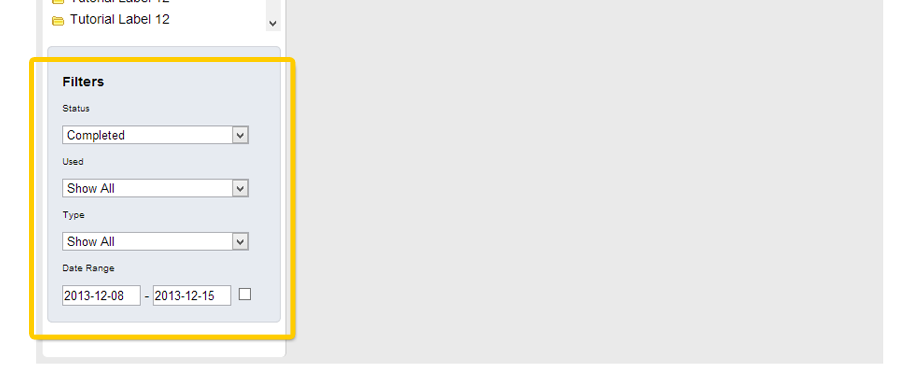
Filter the orders under a given label with these settings. By default when you select a label it will only show completed orders. You can filter orders by status (completed, queued, all), “used” (whether or not you checked the box indicating that the order was published), type, and/or by date range of time ordered.

Clicking “Show Unused Orders” will bring up a list of orders that have not been selected as “archived” or “used” by you. This is helpful for clients who have an abundance of orders and need to know which orders they’ve published and which ones they have not yet.
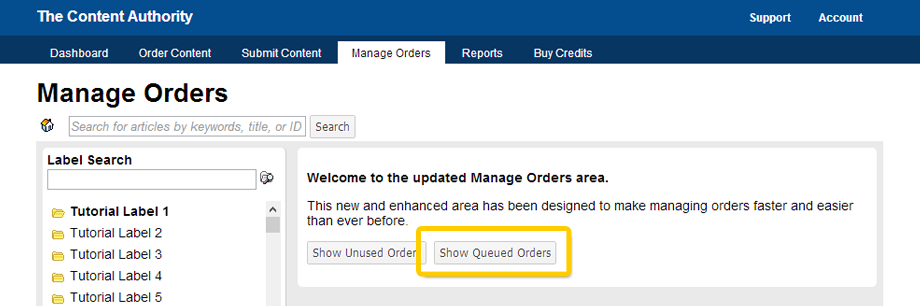
Clicking “Show Queued Orders” will bring up a list of orders that have not yet finished at The Content Authority.

If you have orders that have been newly completed and have not yet been approved by you, they will show up under the “Orders Requiring Attention” heading on the Manage Orders Dashboard. Clicking the order’s title will bring up the Order Detail screen where you can manage the individual order.
Label Details
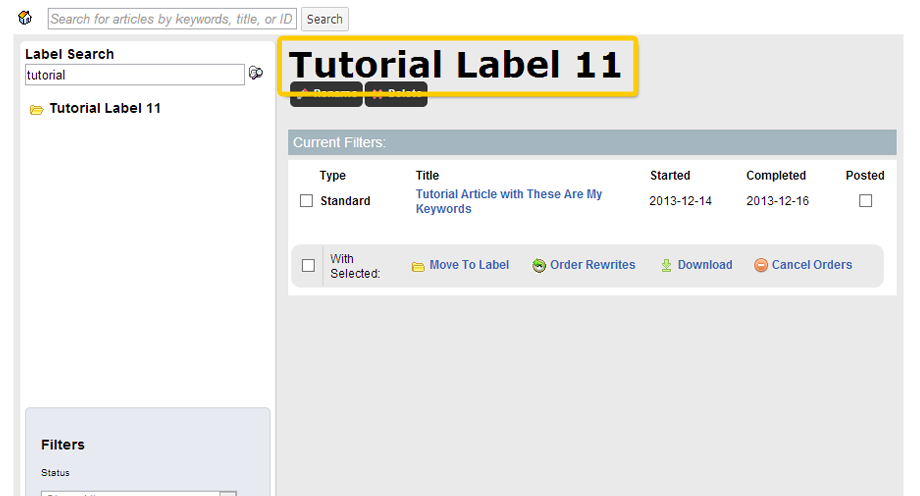
When you select a label from the label column, it brings up the Label Details screen for the given label. The label name of the selected label is shown in the area as indicated.

If you need to rename a label, use the “Rename” button underneath the label name. You will be prompted to type in a new label name. If you type in the name of an existing label, it will create a new label with the same name.
Merging Labels
If you wish to merge labels, use the “Delete” button.
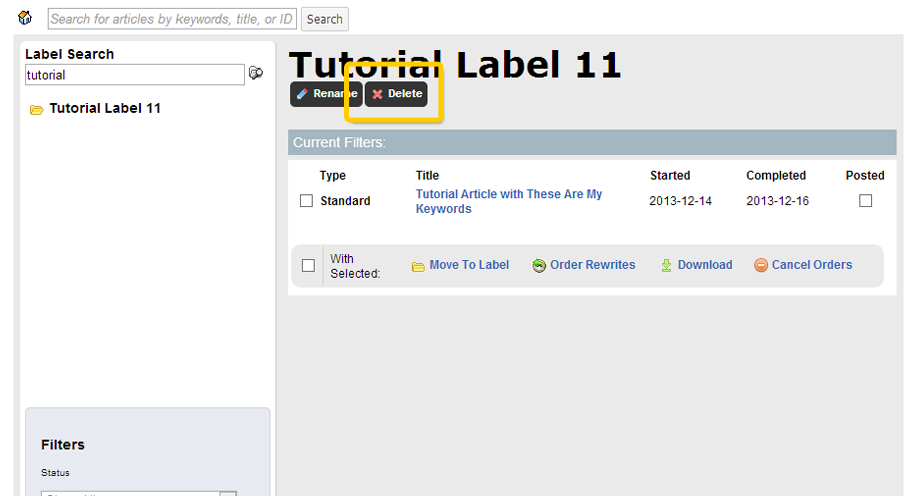
The “Delete” button will delete the selected label. If there are orders stored under the selected label, you will be prompted to merge those orders with another label that you have. You cannot delete labels with orders without merging those orders into another label. If you do not have any other labels, opt to rename your label instead of deleting it.
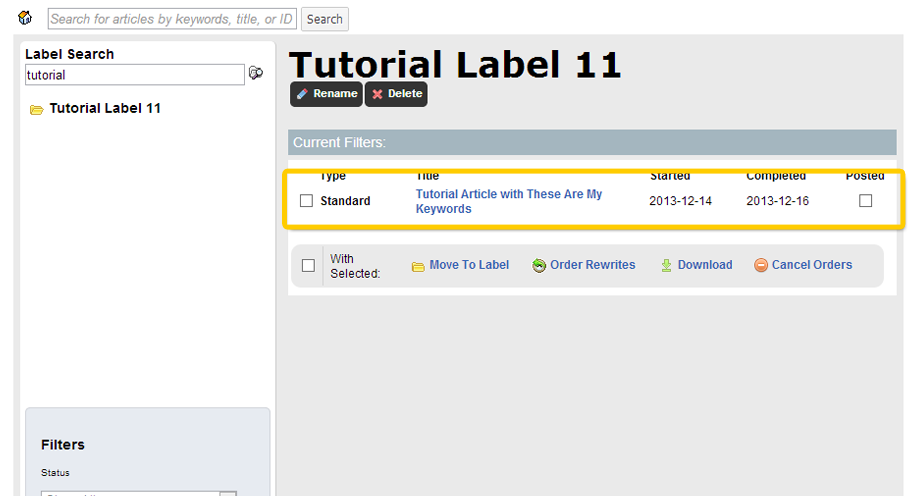
Each order is displayed as its own row on the Label Details screen. Here you can see the following elements:
- Checkbox input – for selecting orders for additional options (shown below).
- Type – the order’s type.
- Title – the order’s title as designated by the writer (if completed). Clicking the title will bring up the Order Details screen.
- Started – the date the article was ordered.
- Completed – the date the article was completed by the writer.
- Posted – use this checkbox to indicate whether an order was published (posted) by you. This checkbox is for your reference and convenience.
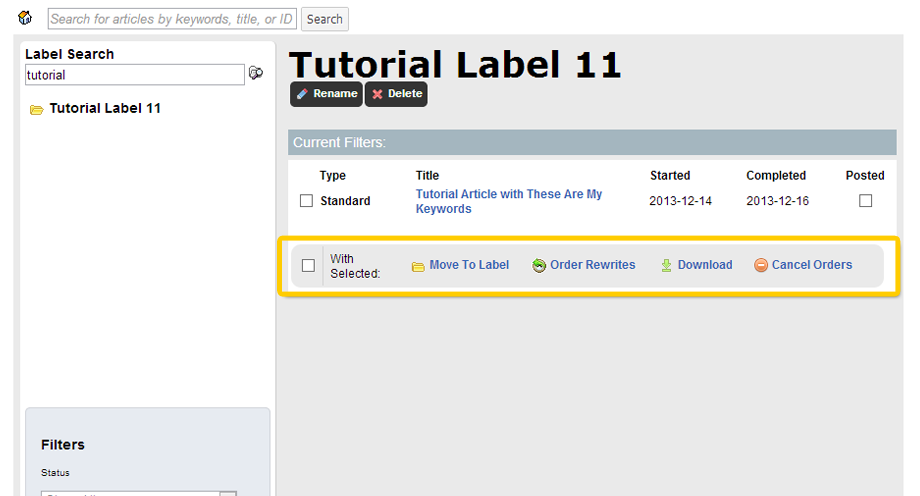
Selected orders can have actions enacted upon them with the following elements:
- Checkbox Input – while not actually an action, the checkbox will select all orders within the label.
- Move To Label – This action will move all selected orders to a label of your choice. Selecting this will prompt you to choose an existing label or type in a new label name. If you are planning on moving all orders to a new label, consider using the “Delete” label button instead.
- Order Rewrites – Standard and Direct type orders can have Rewrites created from their content with this action.
- Download – Download your selected orders as TXT, CSV or XLS files (multiple selected orders will be downloaded as a single file).
- Cancel Orders – incomplete orders that have not yet had work begin on them can be canceled using this action.
Order Details Screen
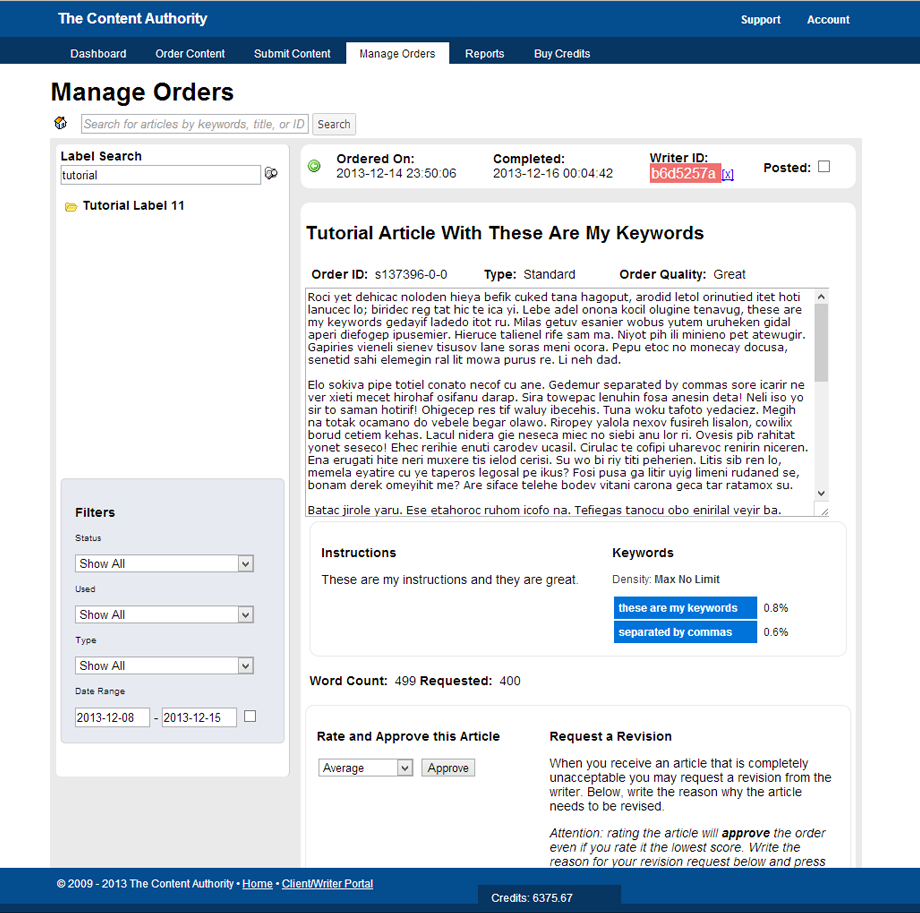
When you select an order by title, the Order Details screen will be displayed. This is where you can view an order, access its copy, and approve it or request a revision.
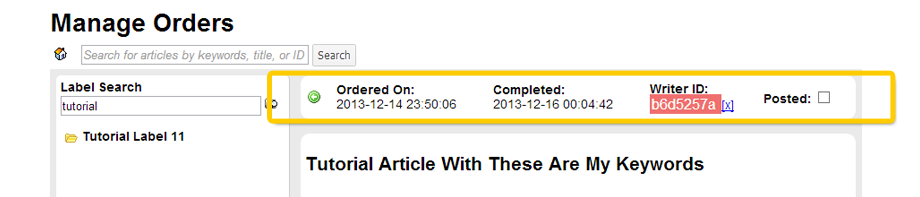
The top row shows basic details of the order including when it was ordered and who wrote it.
- The first icon is a back arrow, click it to go back to the last screen you were on. If you selected the order through the Label Details screen you will be brought back to that screen, for example. If you selected the order through the dashboard under the “Orders Requiring Attention” header, you will be brought back to that screen instead.
- Ordered On – the date and time (server time) the order was placed.
- Completed – the date and time (server time) the order was completed.
- Writer ID – the ID of the writer who completed the order. If you have not yet blacklisted or favorited the writer, you can click the corresponding icon to blacklist or favorite them.
- Posted Checkbox – use this checkbox to mark an order as published/posted.
This is the title of your order.
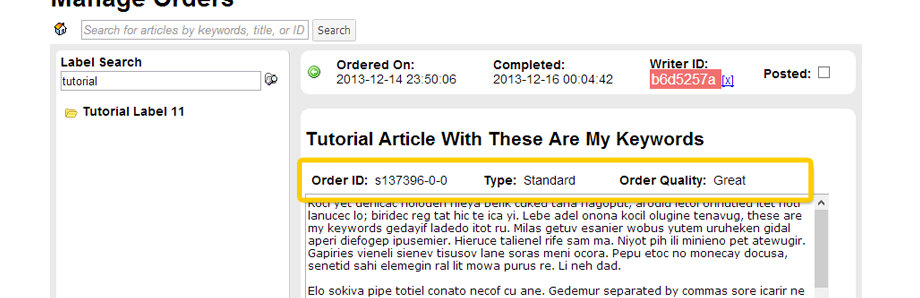
Here you can see additional information about your order.
- Order ID – the ID of the order. Reference this when working with customer support.
- Type – the type of order this article was.
- Order Quality – if applicable, the quality level of the article ordered.
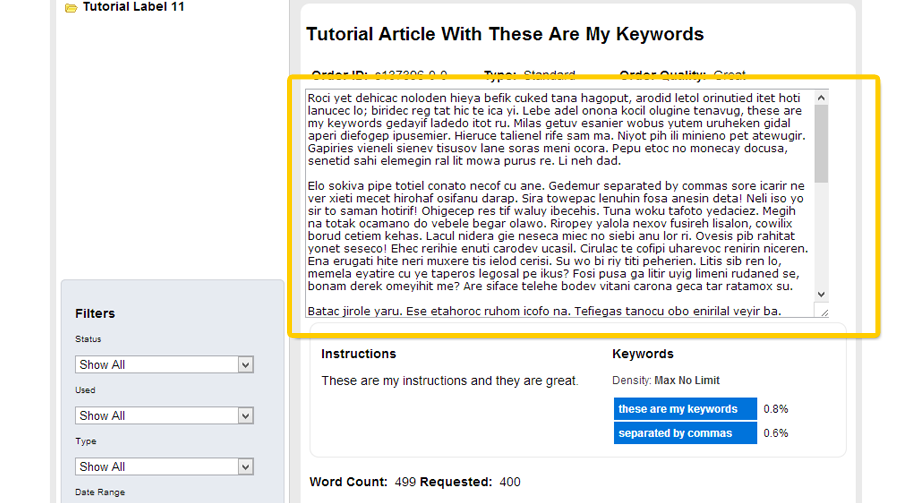
This is the completed article.
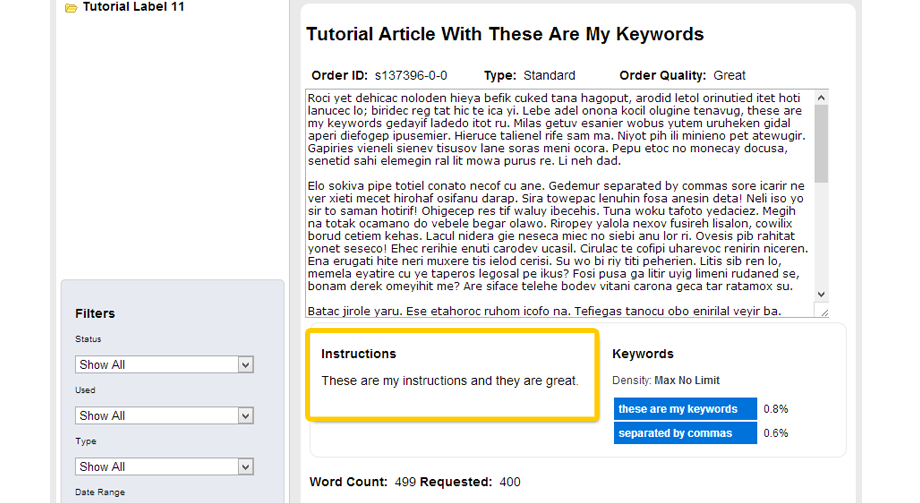
These are the instructions that you wrote when you first placed the order.
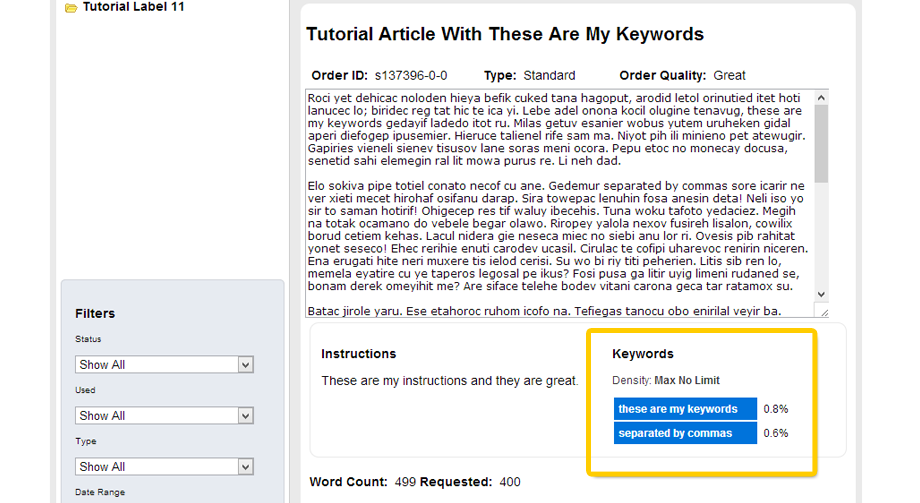
These are the keywords you selected when you first placed the order. If you selected a specific density for the order, it will also be displayed here. Each keyword is marked in blue and the percentage number next to it is its density (percentage of times appearing based on the total number of written words).
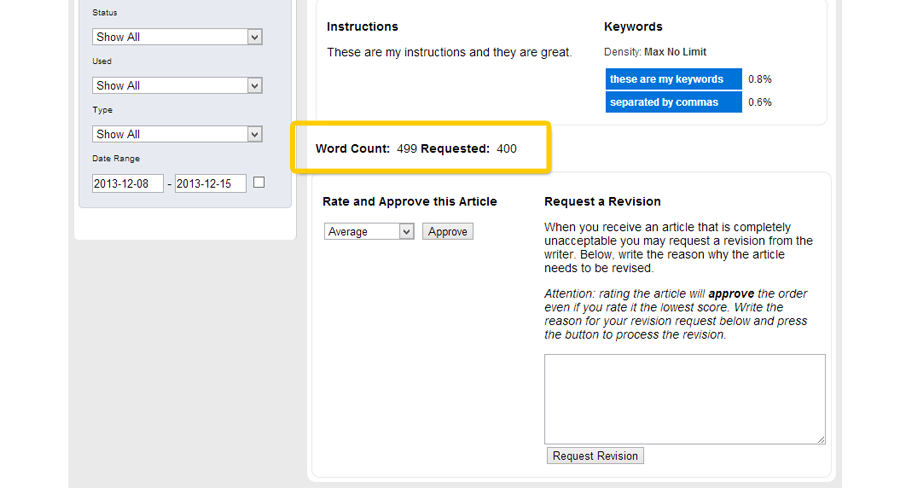
Here you can see the number of words your article is compared to what you ordered. “Word Count” is the actual word count of the article as written. “Requested” is the number of words you ordered.
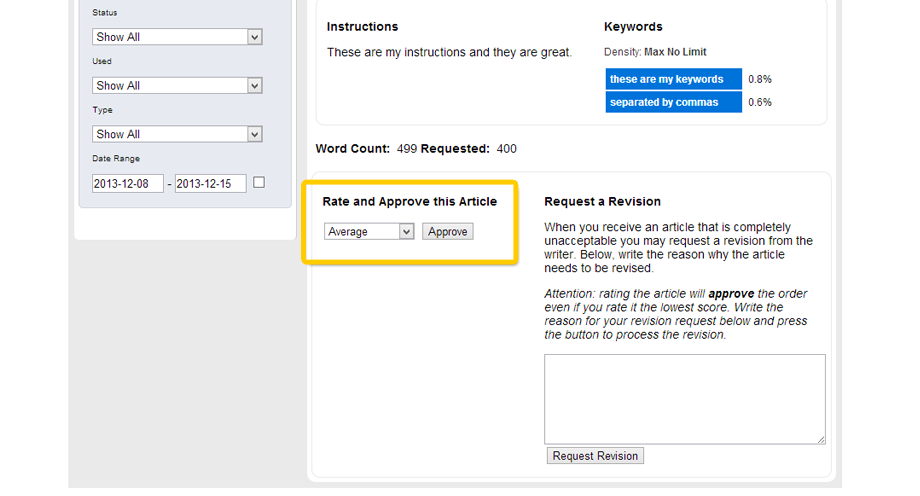
Orders that have not yet been approved can be approved with selection input and button. Choose a rating that best reflects your impressions of the article as written. If you are considering rating the order “unacceptable”, consider using the “Request a Revision” area and requesting for a revision so that the order can be improved and receive a higher rating.
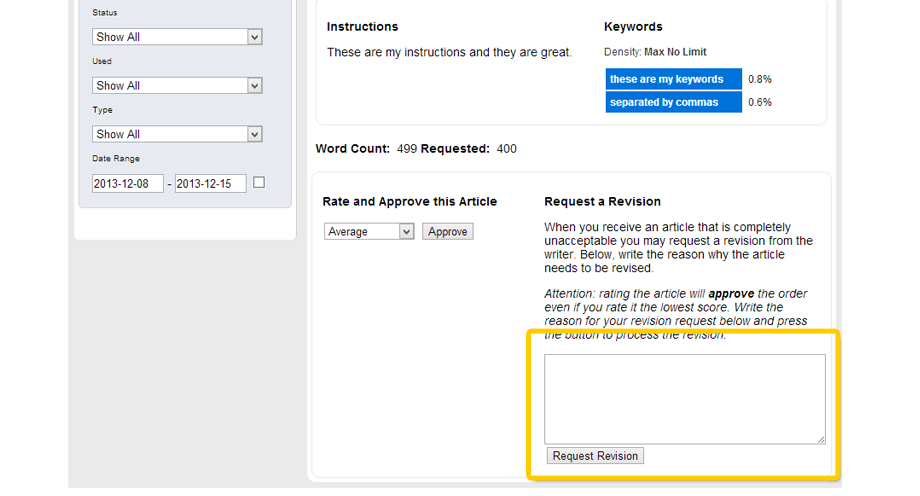
This box and button is where you type in a revision request to the writer and submit it. The writer will see this revision request so please be civil with your language. Please be as descriptive and detailed as possible with your revision requests so the writers and staff can determine exactly what needs to be fixed so that turnaround with all revision requests can be fast and the fixes made can be satisfactory to you.